Showing posts with label DIY. Show all posts

Wednesday, 24 September 2014

Fashion drawings


Today I handed in my first school assignment of the year. For the past two weeks I've been drawing figurines, hands and portraits. Below are some of the drawings I did. The first one is my frontpage, the 2nd one my personalized figurine/ fashion drawing, and the last one is a fashion illustration.

I think it might be a couple of days before I start drawing again, doing it for two weeks straight is not as easy as it sounds. After using hours and hours on a drawing, not being happy with the result can be very frustrating. But honestly I'm looking forward to finding my own expression, and making my drawings better and better.


- by Pedersen

Saturday, 30 November 2013

Pelotti handbag in black

Another Pelotti handbag is done, and on the shelf in the shop.
 I'm still making two more of these, before I move on to my next design. I can't wait to get started :) 


-byPedersen

Sunday, 6 October 2013

Pelotti handbag


This is one of my first handbag designs, and to be my first bag I think it's pretty cool. 
I have so many other ideas for small handbags and cluthes, so you will probably be seeing more of them here on the blog very soon.

-byPedersen 

Sunday, 29 September 2013

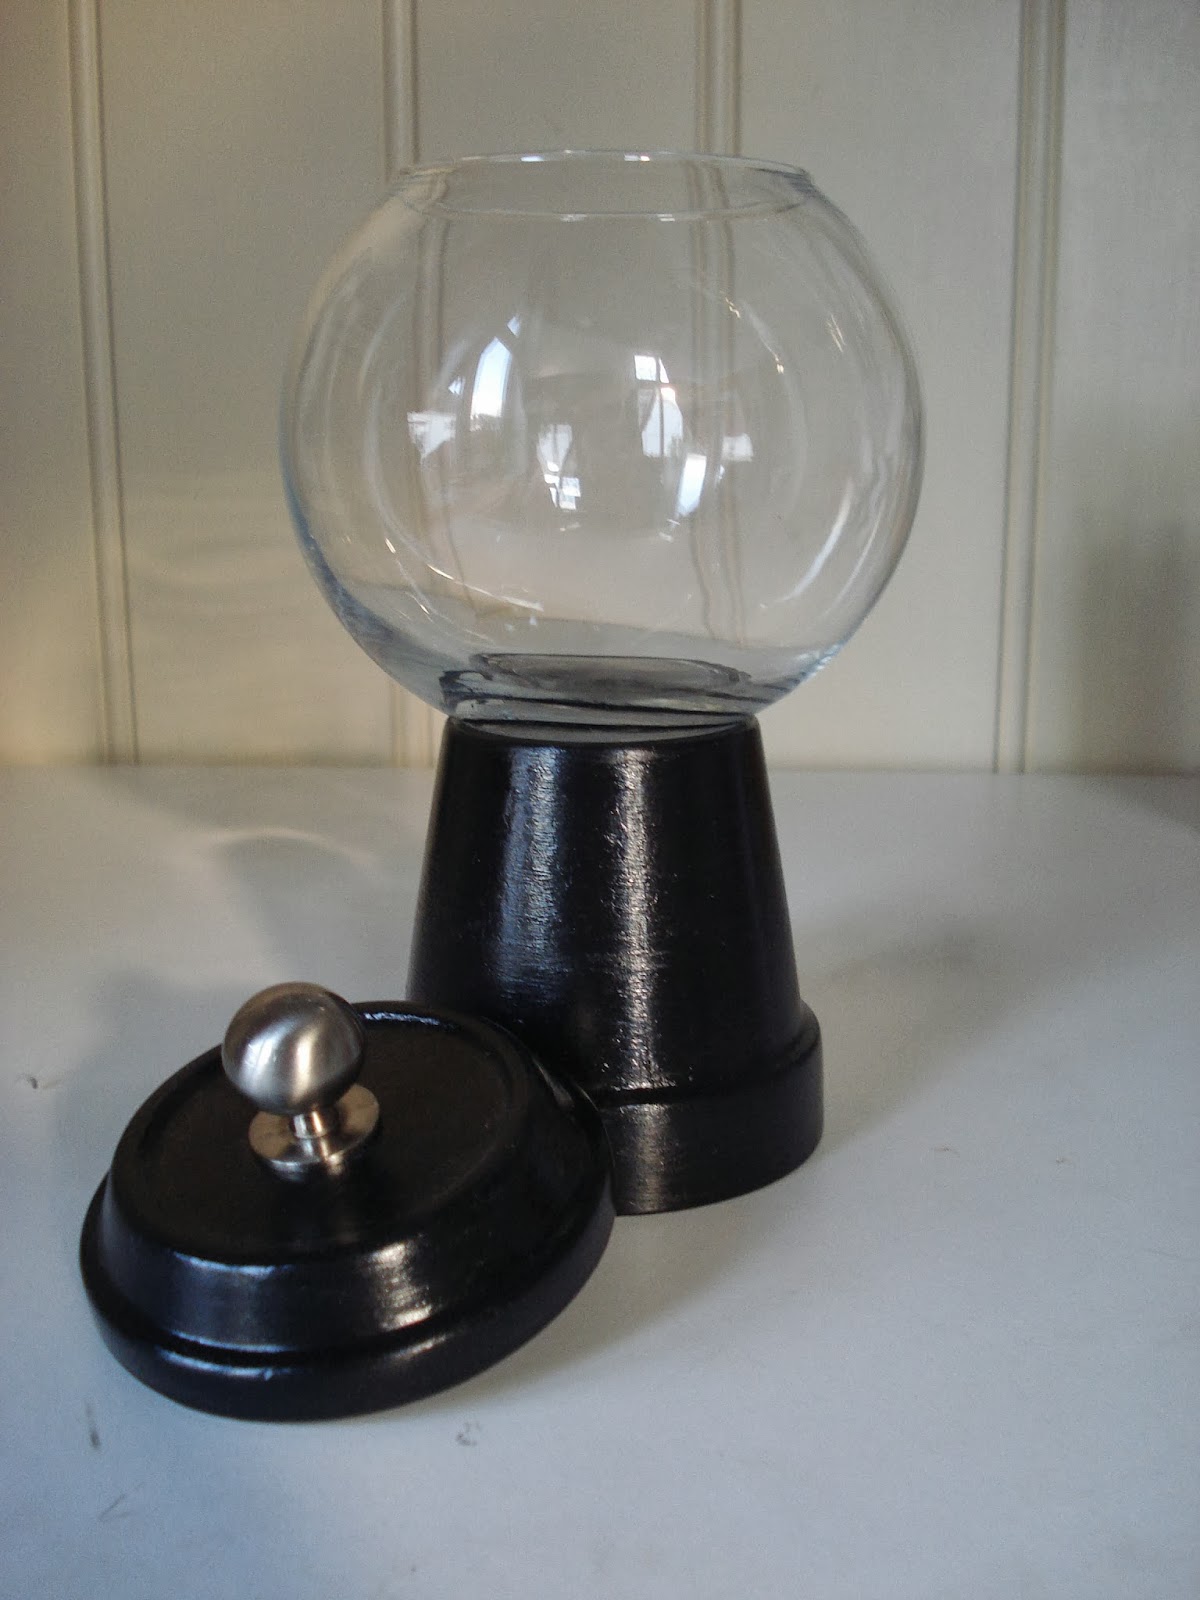
DIY gumball machine


I have seen these all over pinterest and finally made one myself.
 Sadly it's empty at the moment, but I have a feeling it will be filled with candy very soon :)

-byPedersen

Friday, 23 August 2013

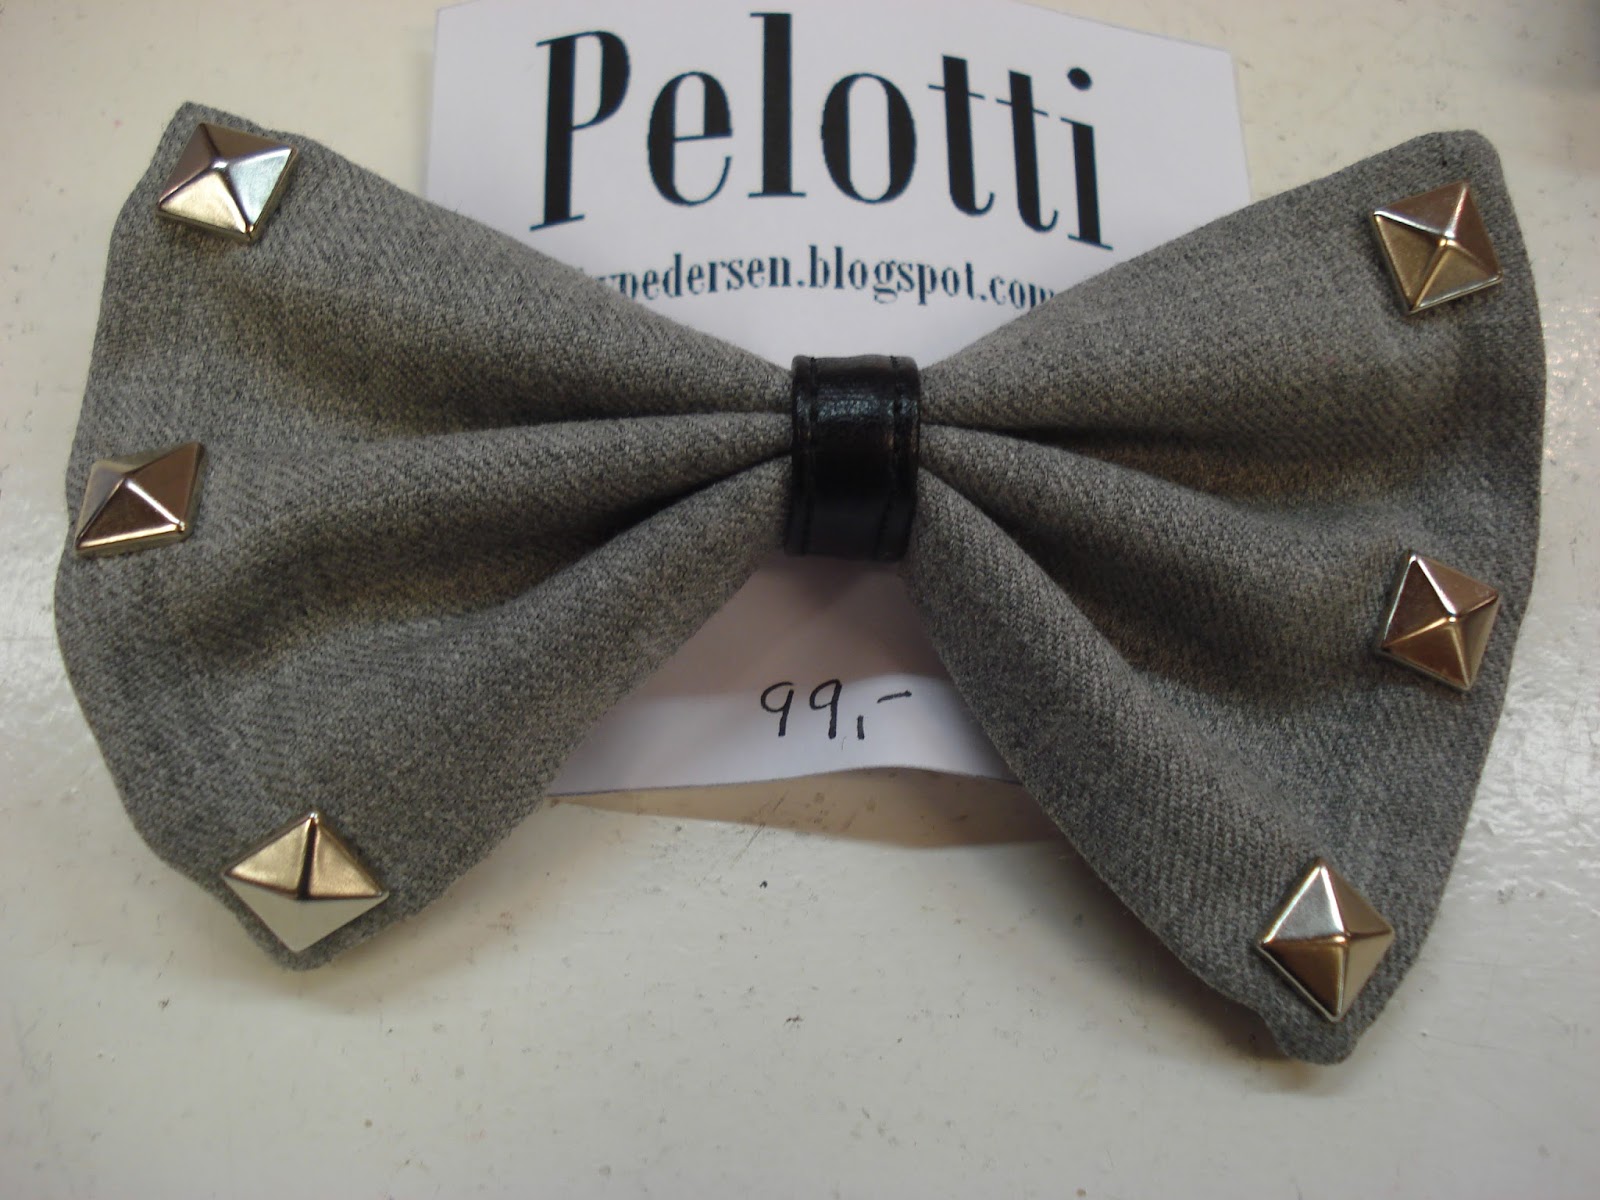
Pelotti hairbows

I resently made these bow hairclips, and they are now sold at a store called Designerne in Sandefjord, Norway. The bows are made out of scrap fabric from other projects. I am currently on my summer vecation and don't know if they have sold any of them, fingers crossed :) The reason for the name Pelotti is that I finally started my own brand, and the letters are a combination of the first letters in my first, middle and last name :) 


-by Pedersen

Sunday, 16 June 2013

New dress!

Yesterday I went to a wedding in a dress I designed myself.

 I started sewing the dress on thursday, and it was finished the morning of the wedding(saturday). I would have started sewing it sooner, but I was sick last week. This week we worked on several of the other dressed for the wedding, including the weddingdress, so we have been working from nine in the morning, to eight-nine at night to finish everything. 

Here is a picture of me in the dress I made: 
 
I really like the result, and so did a lot of people in the wedding :) 
below is a photo from the wedding. this is taken after the dinner, I just really fell in love with the big chandeliers.
It was a lovely wedding, I had fun and danced the night away :)


Saturday, 19 January 2013

New Year's Resolution


  This year i'm actually not going to buy any clothes, jewelry or accessories. Instead I will sew my own clothes, and make my own jewelry and accessories. I think this could be a fun and challenging year, but I'm gonna make it!
 
 In order to make this work, i have made up some rules:
  1. I can't buy any readymade clothes, accessories of jewelry
  2. if I want any new stuff I have to make them myself, eighter from scratch or redesign something I already have.
  3. I can buy shoes, because this is something I can't make myself( but I will keep this to a minimum, I have enough shoes)
  4. I will make updates at least ones a month, that way it's easier to see how I'm doing, and it will be harder for me to give up :)

- byPedersen


Sunday, 3 June 2012

chevron striped tin can

I wanted something with chevron stripes, because I'm obsessed! So I painted black stripes on white paper, and just glued it on the tin can. A simple and cute project :) 


What do you think?

Sunday, 6 May 2012

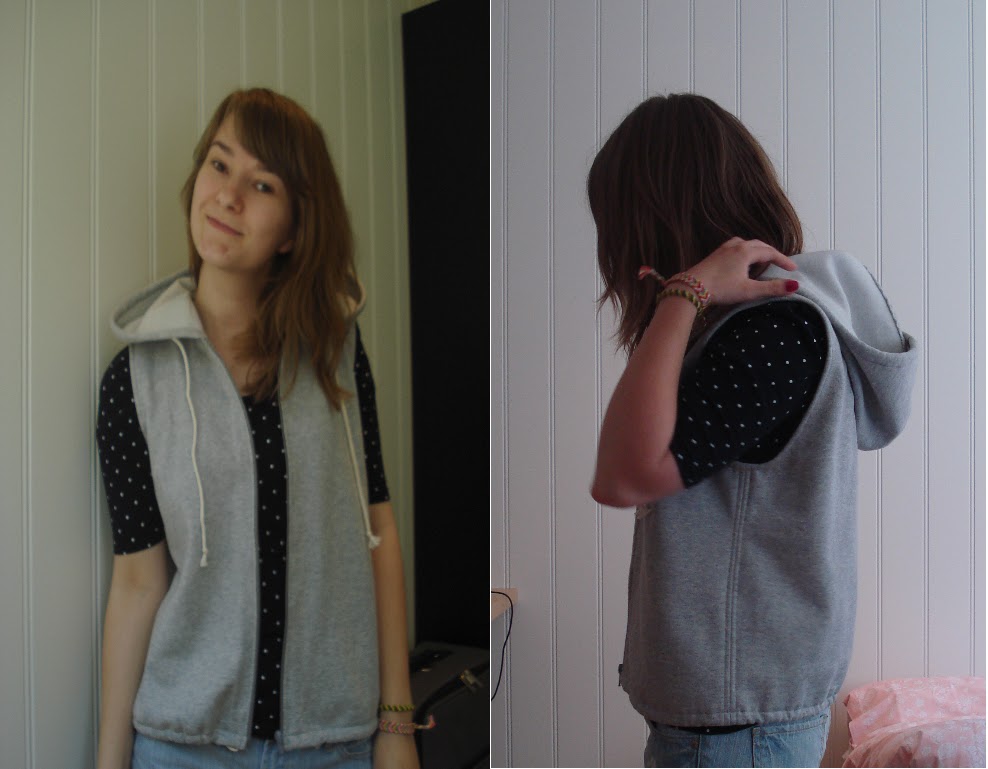
Sleeveless hoodie


Made this sleeveless hoodie at work the other day. I made it from scratch, but you could always just use an old hoodie and cut off the sleeves. The great thing about this hoodie is that you can layer it under jackets.

Monday, 12 March 2012

DIY studded clutch

Yesterday I finally sat down and made this clutch. I have been planning on making it for some time now, and really like the way it turned out. And because I like it so much, I desided to share the tutorial with you.
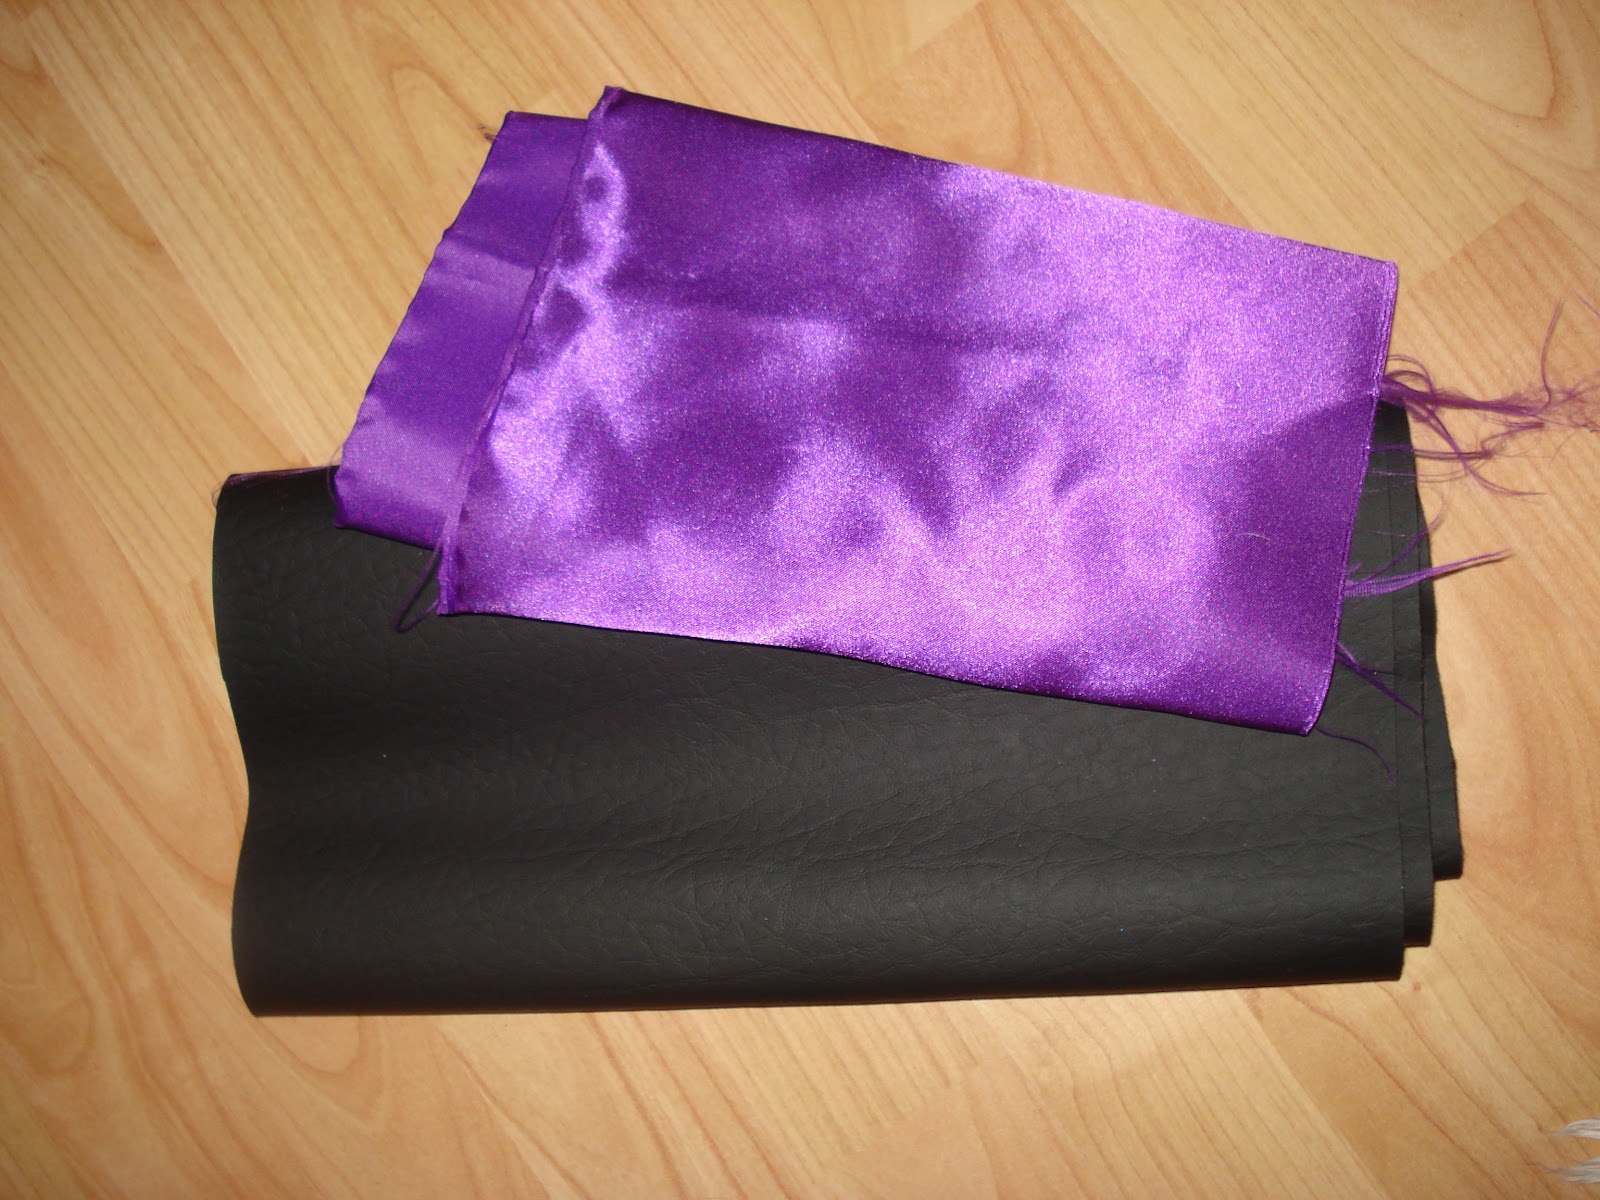
For the clutch I used two different fabrics, the purple one for lining, and a pleather fabric for the outside of the clutch.
 I cut out the fabric in 24x42cm pieces. ( my lining fabric wasn't wide enough so I hade to sew together some parts to get this size.)
 The fabric can now be folded like the picture below, and sew at the red lines. Do this with the lining fabric as well. remember right sides together.
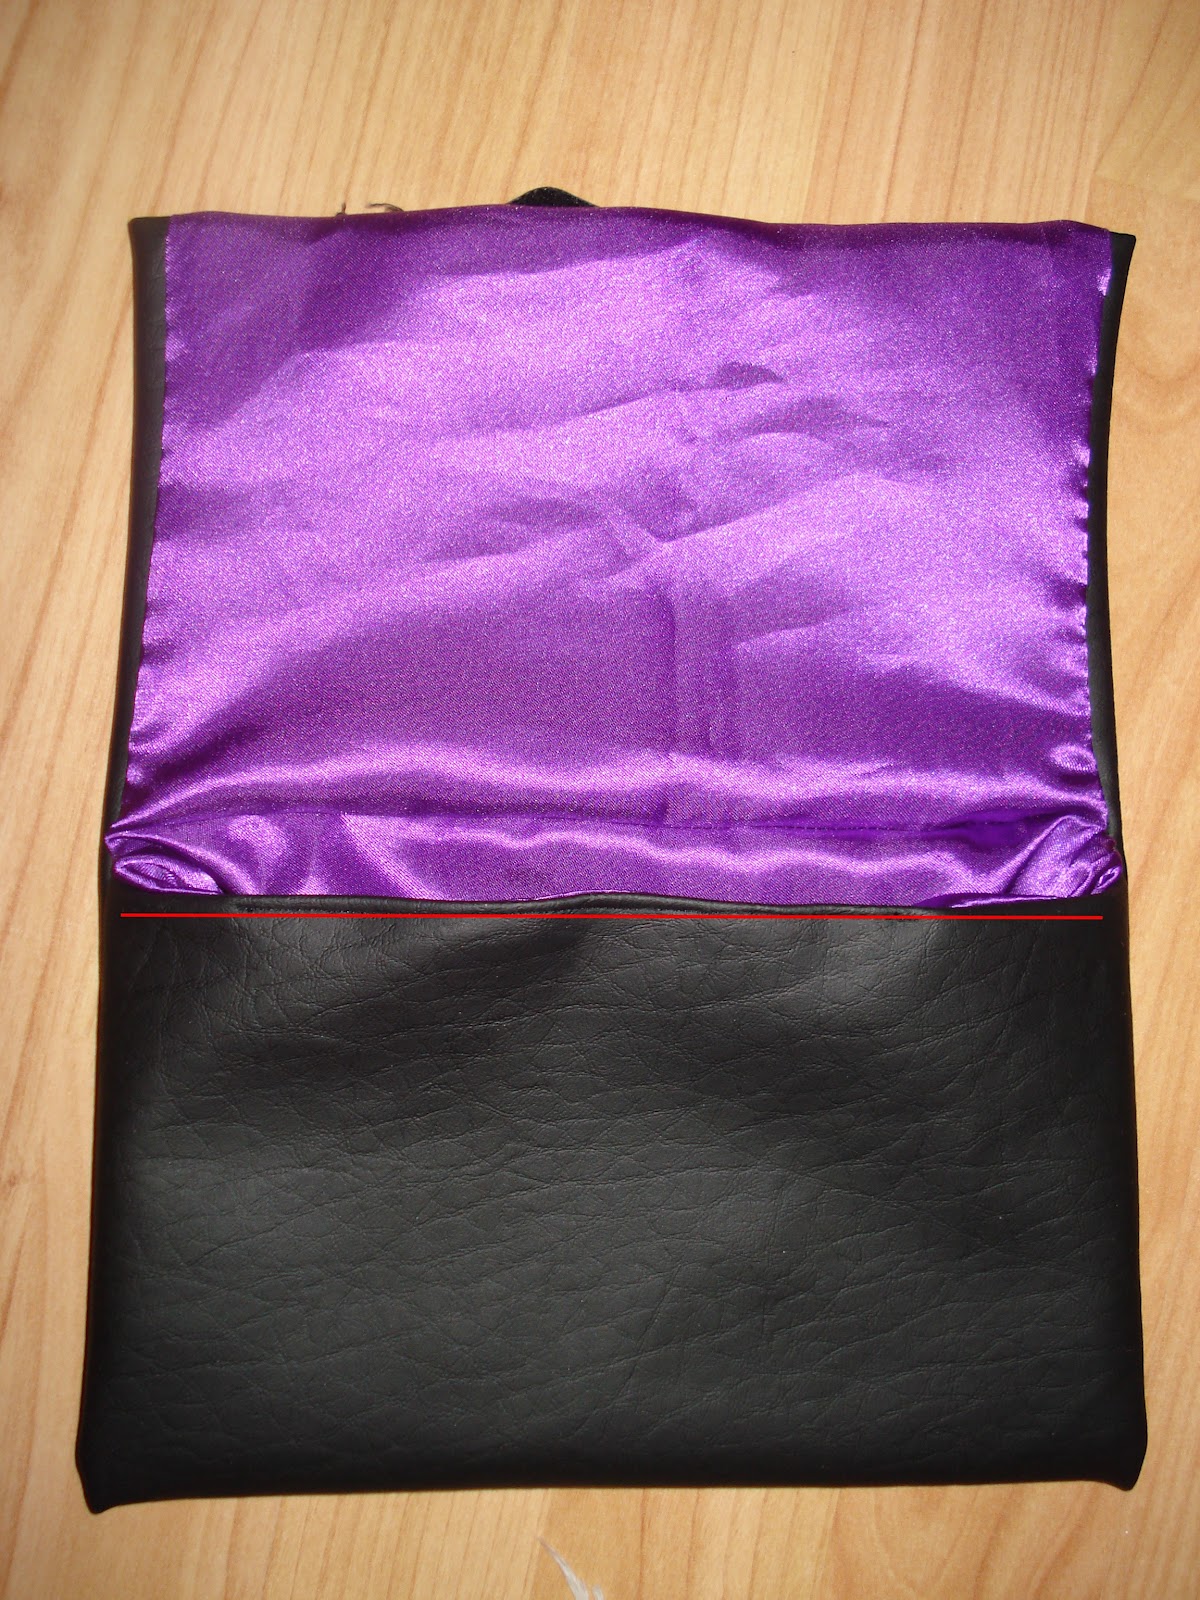
Now flip the lining fabric around, and put it inside the pleather fabric. Sew over the red line, so that you attach the lining and the plaether.(remember to not sew over all the layers, just the first pleather and the lining piece.)

 Now sew the sides of the flap.
 Sew the top of the flap, but leave an opening in the middle to turn the clutch inside out.
Then turn the clutch inside out, and handstich the opening closed. You can also sew a seem along the red line, to make the lining stay in place.

On the picture below I have handstiched on a little piece of velcro to make the flap to stay in place. Then place on studs in the pattern you want.
 And you have a brand new and unique clutch.


I got the studs on ebay, I found them here.

Hope you liked the tutorial, and if you have any questions just leave me a comment. And let me know if you make one :)

-byPedersen

Friday, 24 February 2012

DIY pearl ring


Today I made a ring from leftover pearls and some thin wire. I allways find alot of cute rings in stores, but these are just way to big on my fingers. I absolutly hate when that happends, even size xs is to big! Anyone else having the same problem? 

 I'm glad I finally have a ring that fits perfectly.

-byPedersen

Tuesday, 21 February 2012

DIY friendship-bracelets

I came across some blogs with DIY bracelet tuturials and desided to try some myself.
The first bracelet is the easiest one of the the two I made. I found the tutorial on this blog.


The second one was a valentines day spesial with hearts. It was a bit harder to make then the first one, but I think it turned out pretty cute. Tutorial here.
I just love the way people wear many different ones on the same arm, maybe I have to make more of these? They would look great with denim shorts and a plain white tank top in the summertime. And one more thing, this is kind of time comsumig, and takes a couple of hours to finish.
Let me know if you make one :)


What do you think?

-byPedersen

Monday, 20 February 2012

Mini storage drawers

I bougth this wood storage thing in a hobby store the other day. I'm always looking for storage items for my room, and this one was perfect for sewing-supplies.
The only thing I didn't like about this thing was the color. In my room most of my things are black, white and pink, so I used pink and white acrylic paint to give it a personal touch.
At first I was thinking about using scrapbooking paper on the drawers, but I think it looks pretty good just the way it is.

-byPedersen

Monday, 6 February 2012

DIY Peter Pan collar necklace

Today I finished one of my many ongoing DIY projects. I made a Peter Pan collar necklace. For this project I used Fimo clay from a hobby-supplies store and chain from a hardware store.+jumprings and jewellery clasps.


 The white one is my favorite, the color of the black one turned out kind of gray. And the white one just looks a bit more clean and classy.

Let me know what you think! did you like this idea?

-byPedersen