
Yesterday I finally sat down and made this clutch. I have been planning on making it for some time now, and really like the way it turned out. And because I like it so much, I desided to share the tutorial with you.

For the clutch I used two different fabrics, the purple one for lining, and a pleather fabric for the outside of the clutch.

I cut out the fabric in 24x42cm pieces. ( my lining fabric wasn't wide enough so I hade to sew together some parts to get this size.)

The fabric can now be folded like the picture below, and sew at the red lines. Do this with the lining fabric as well. remember right sides together.

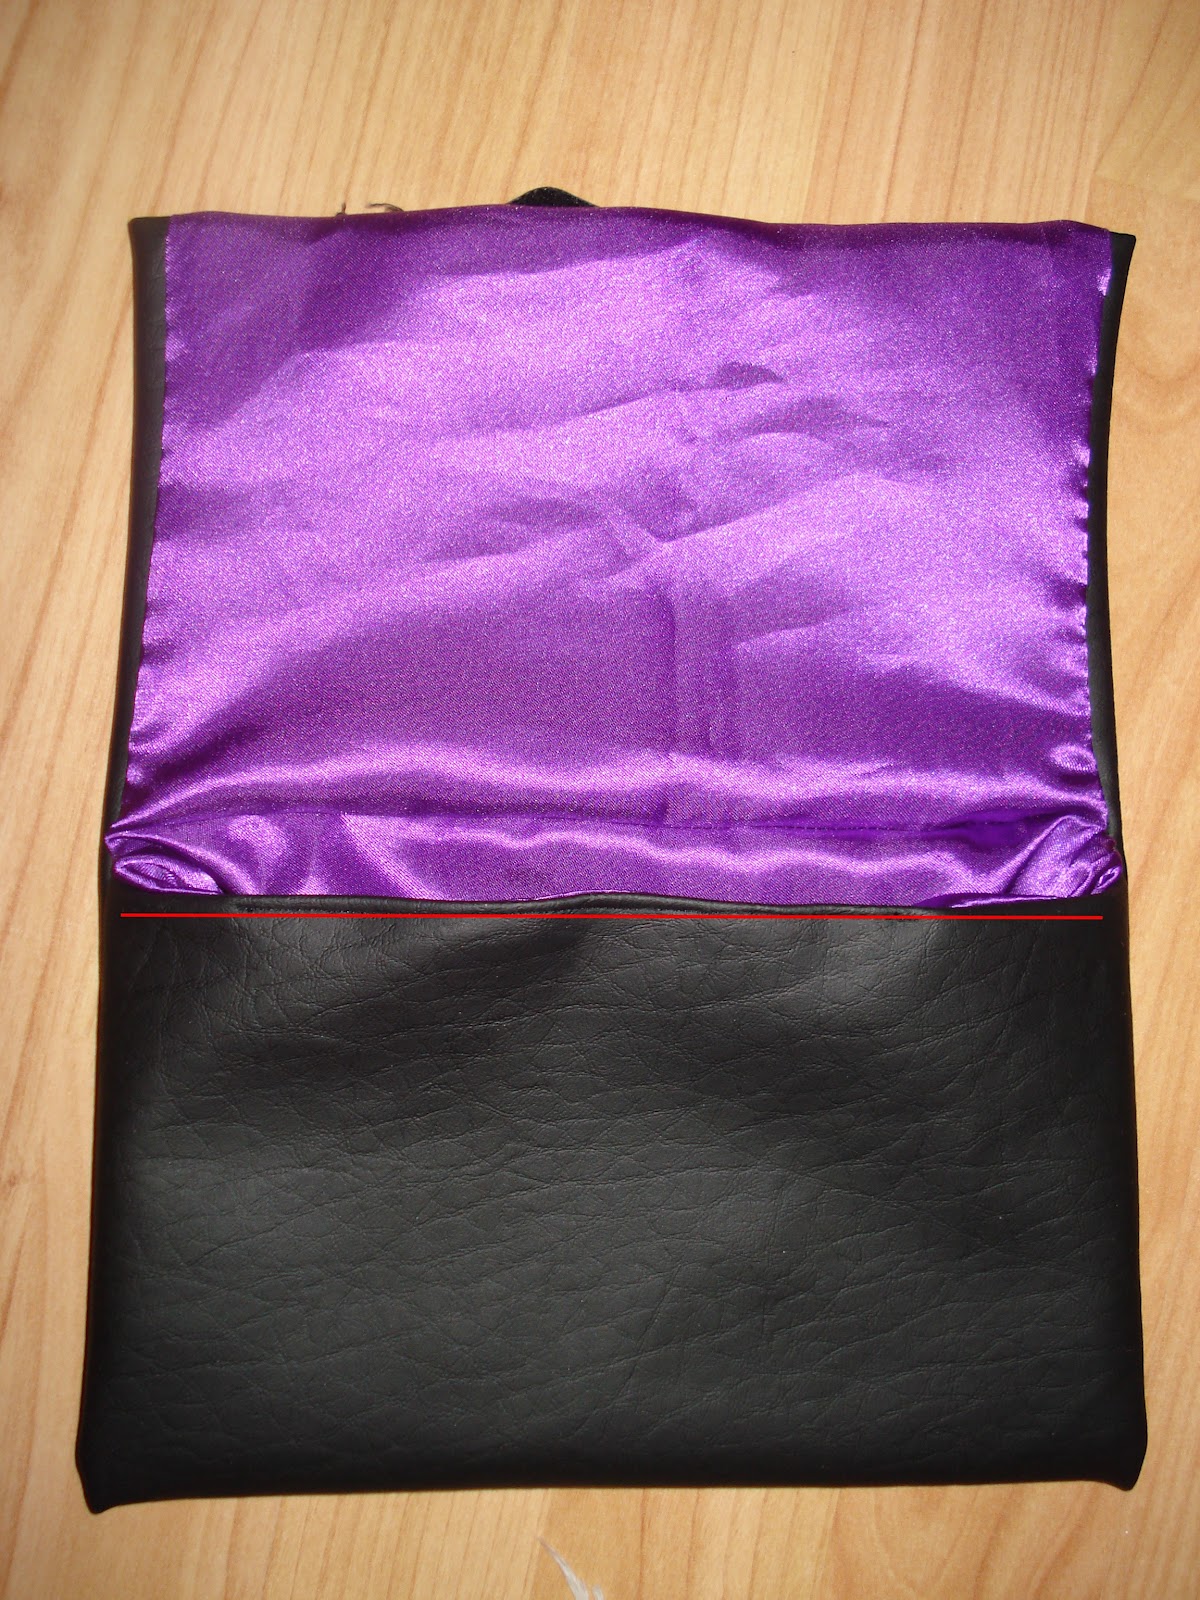
Now flip the lining fabric around, and put it inside the pleather fabric. Sew over the red line, so that you attach the lining and the plaether.(remember to not sew over all the layers, just the first pleather and the lining piece.)

Now sew the sides of the flap.

Sew the top of the flap, but leave an opening in the middle to turn the clutch inside out.

Then turn the clutch inside out, and handstich the opening closed. You can also sew a seem along the red line, to make the lining stay in place.
On the picture below I have handstiched on a little piece of velcro to make the flap to stay in place. Then place on studs in the pattern you want.

And you have a brand new and unique clutch.

I got the studs on ebay, I found them here.
Hope you liked the tutorial, and if you have any questions just leave me a comment. And let me know if you make one :)
-byPedersen
Så flink du er:) Den var kjempe kul
ReplyDelete